

Introduction
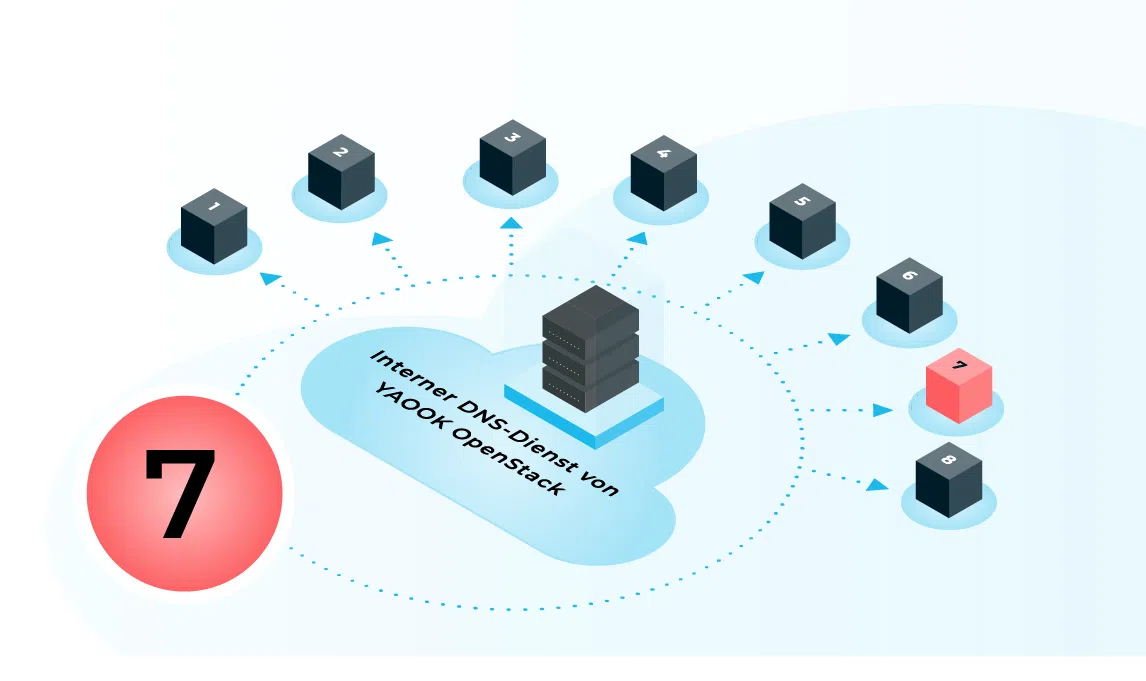
OpenStack Designate is a DNS as a Service (DNSaaS) project, which enables DNS zones and DNS records to be created and managed directly within an OpenStack environment. Designate simplifies the management of DNS configurations for applications and services and ensures that they can be accessed reliably and user-friendly.
Requirements
Before DNS records can be created using OpenStack Designate, the following prerequisites must be met:
One Domain, for which the Name servers managed or configured can be
Creating DNS records
1. Access to the OpenStack dashboard
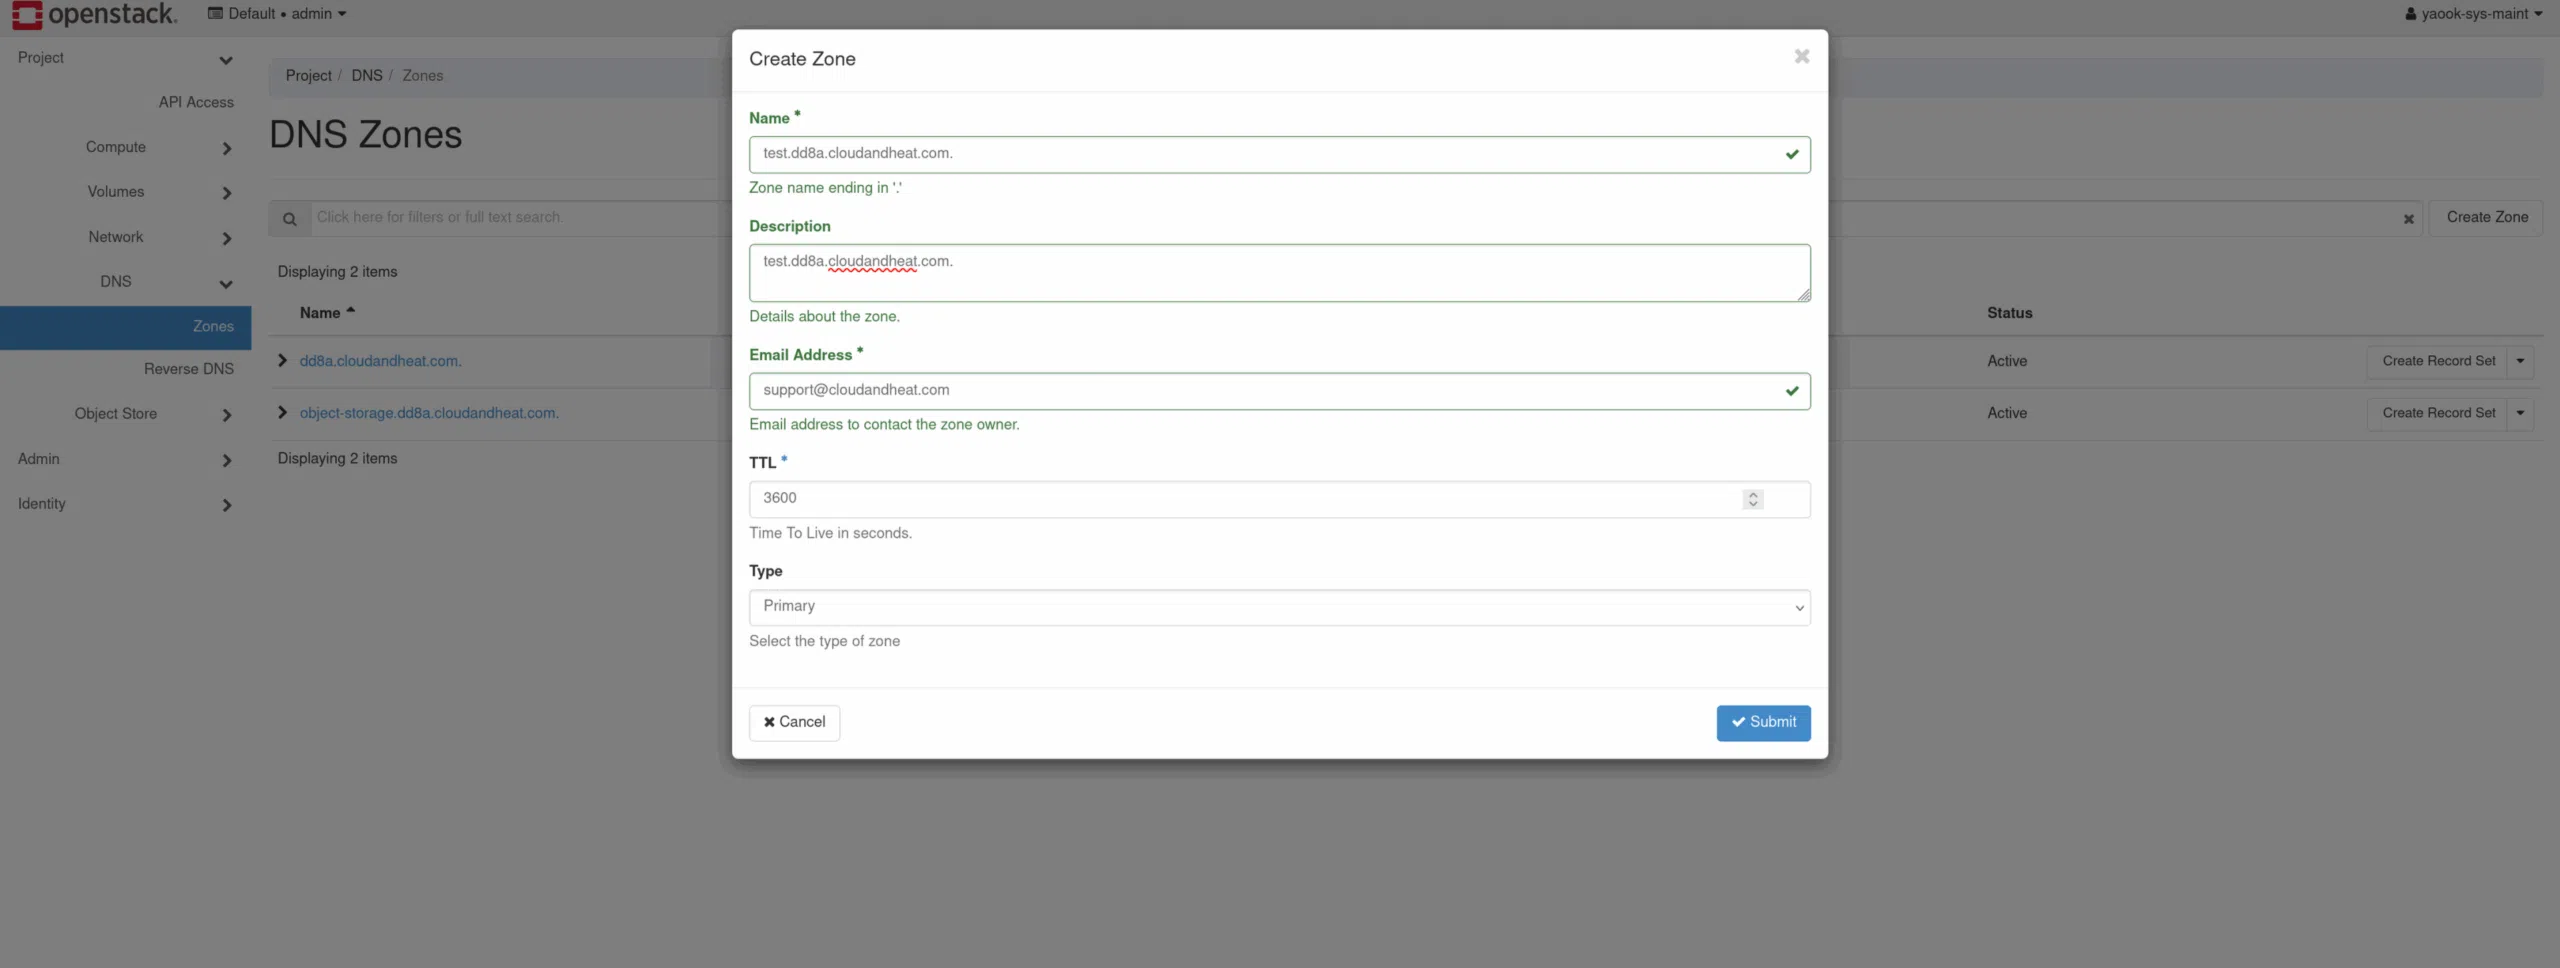
First, log in to the OpenStack Dashboard (Horizon). In the left-hand navigation pane, select the section DNA open and go to Create Zone Click.
2. Create a DNS zone
A name representing the domain is specified for the new DNS zone. In addition, a description and an email address for administrative purposes can be provided.
Then with Create confirm.
3. Create DNS records
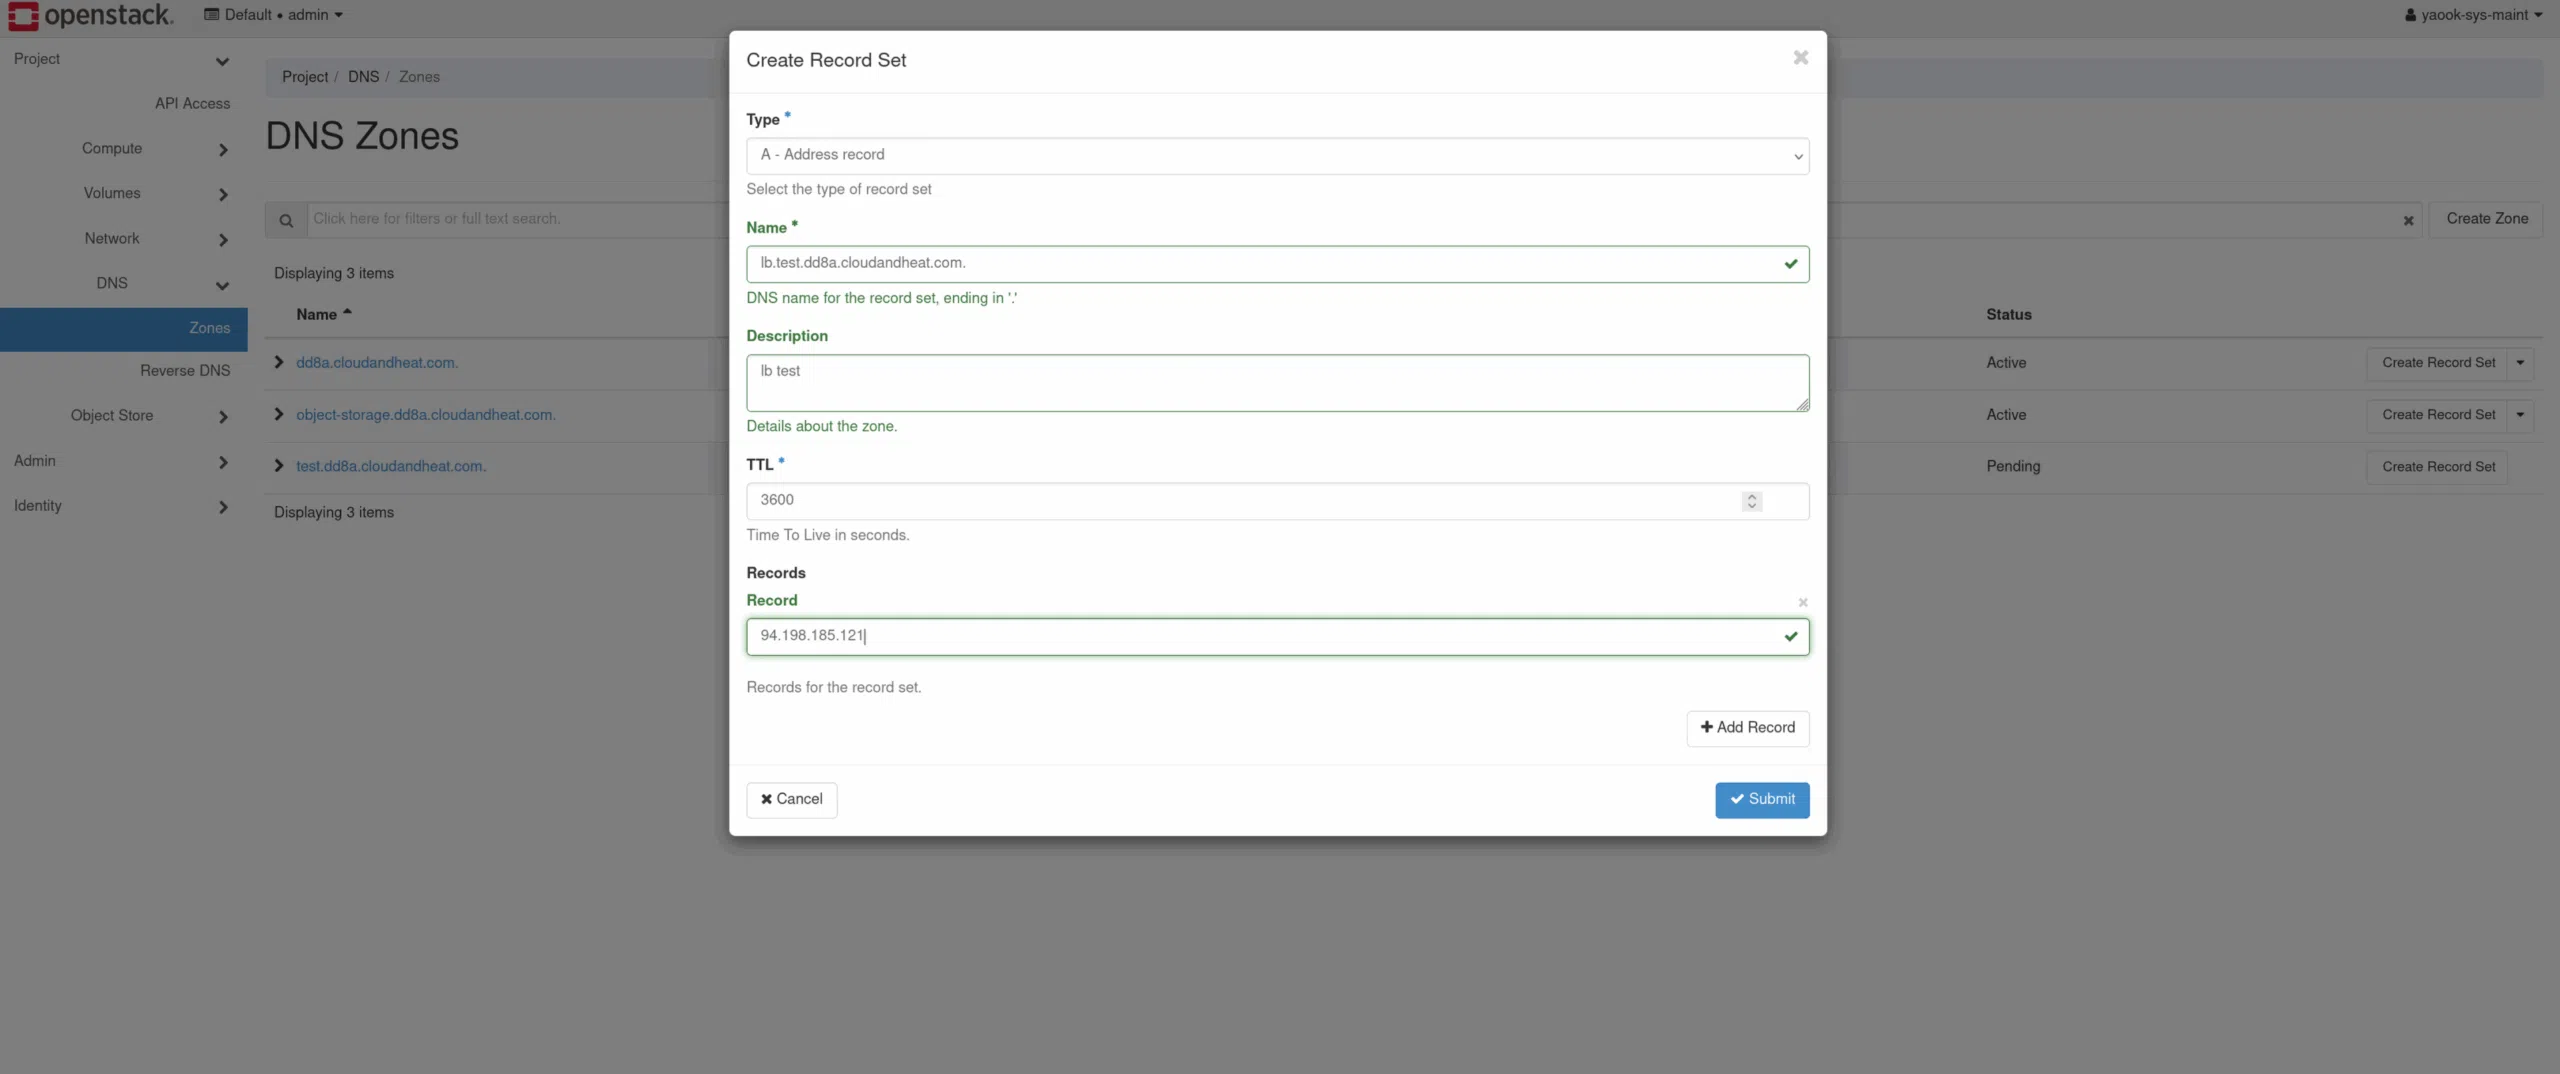
Once the zone has been created, DNS records can be added. To do this, select the desired zone and click on Create Record Set Click.
The following information is provided here:
Name of the DNS record
Type (e.g. A, CNAME, MX)
Value, such as an IP address in an A record
With Create The DNS record is created.
4. Add and check further entries
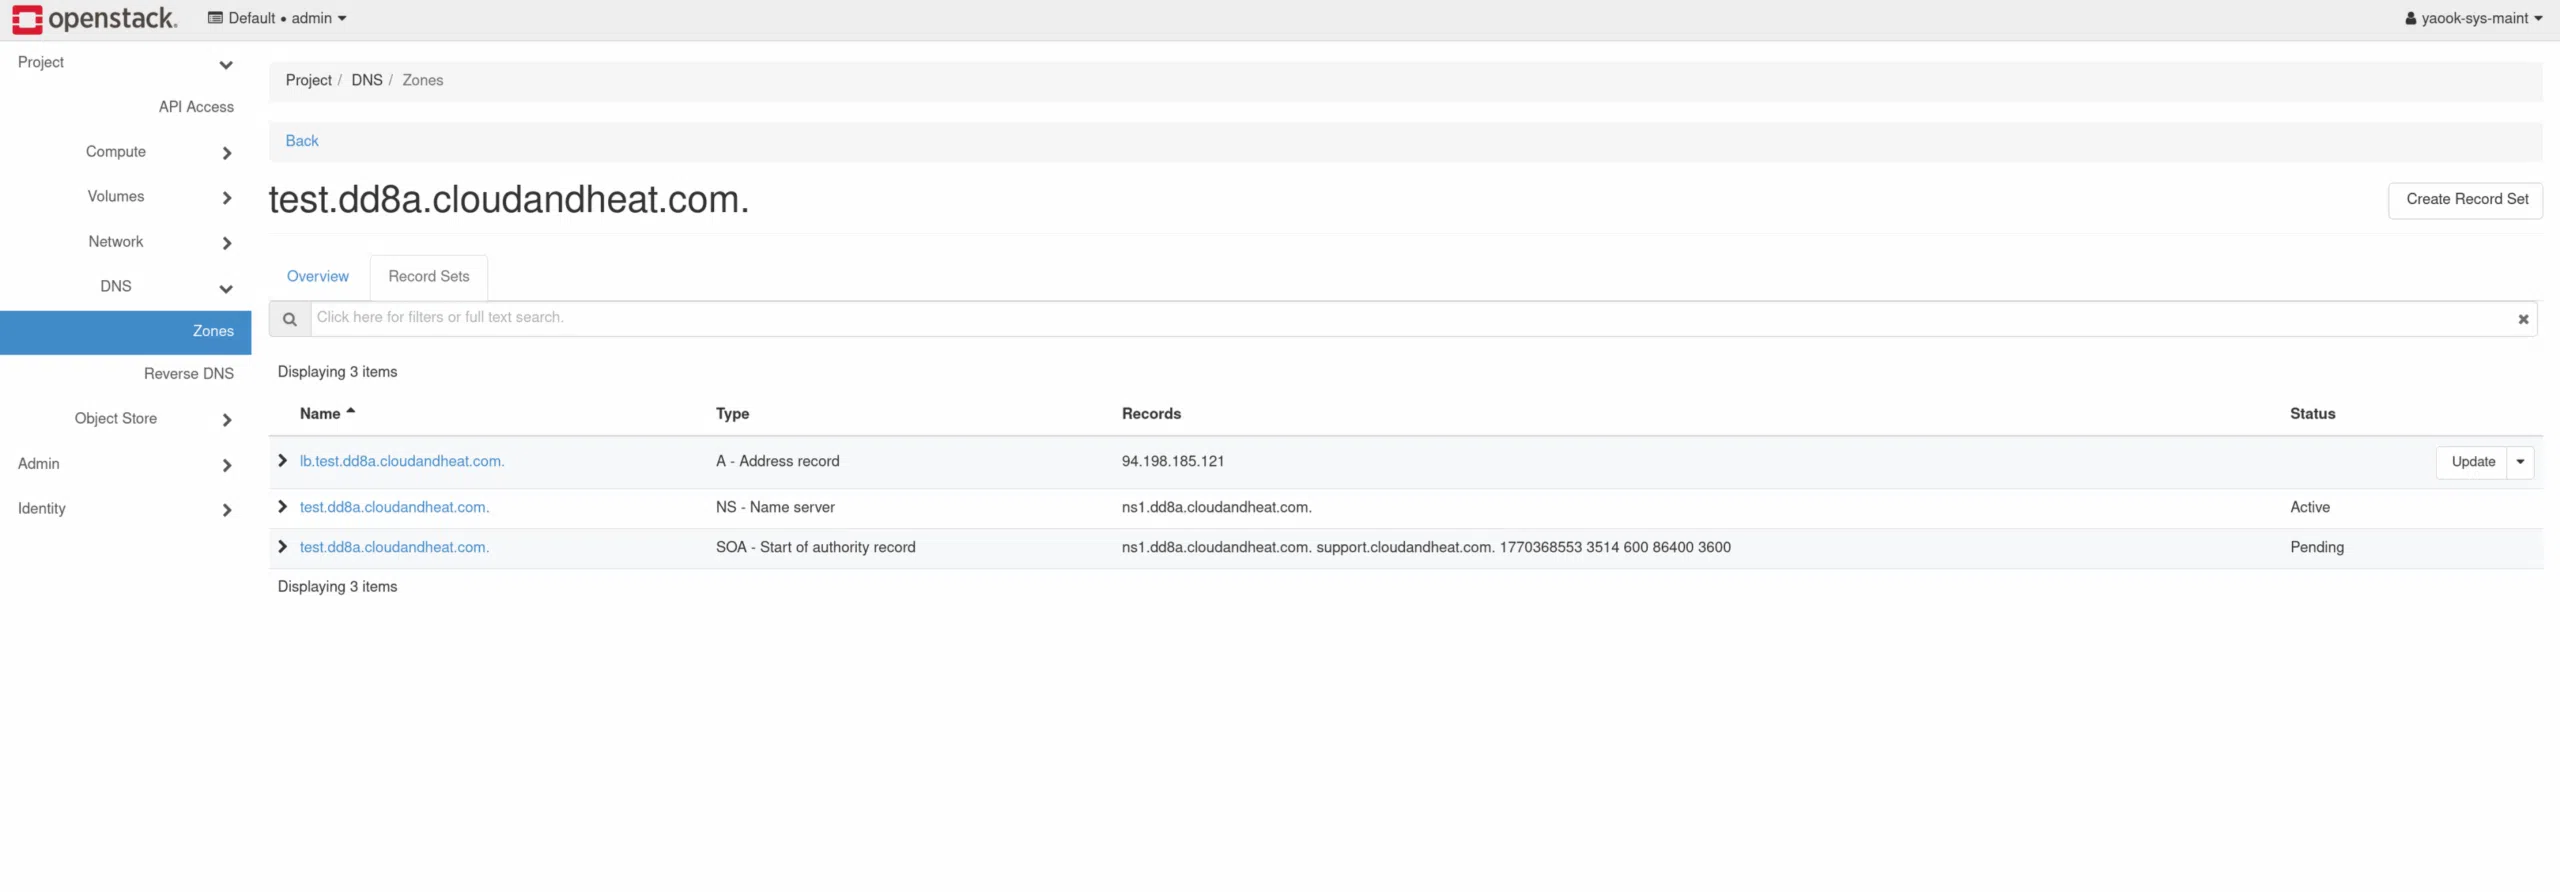
This step can be repeated as many times as required until all the necessary DNS records have been created.
Finally, you can check the status of the entries to ensure that they have been created correctly and are working as expected.
You can find further tutorials on working with OpenStack cloud environments here.
Contact
Are you not yet using our OpenStack cloud and interested in our IaaS? Please feel free to get in touch.