

Cloud service and
Cloud technology-
Provider
Cloud service and
Cloud technology provider
Suche

Our mission
Green, Open, Efficient

Blog.

Getting started with the OpenStack cloud: Creating and accessing instances (VMs)

Written by Tobias Hering
Blog | Getting started in the cloud: Blog | Getting started in the cloud: Creating and accessing instances (VMs)

Introduction

In this blog post, you’ll learn how to create instances in the Cloud&Heat Technologies Horizon dashboard or via the OpenStack CLI.

Requirements

Create an instance

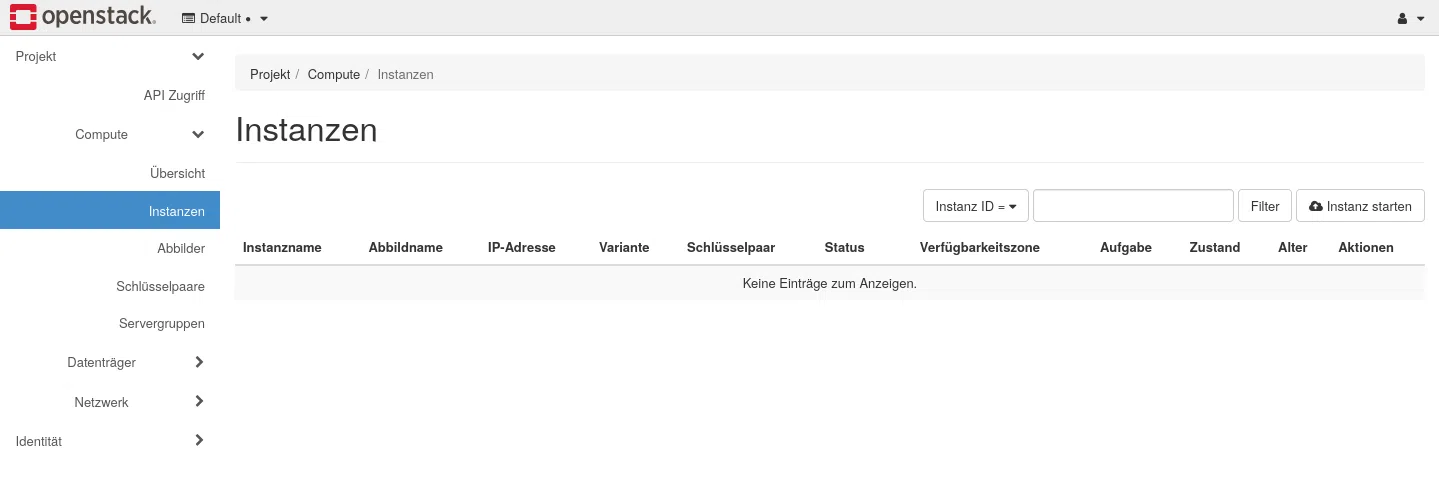
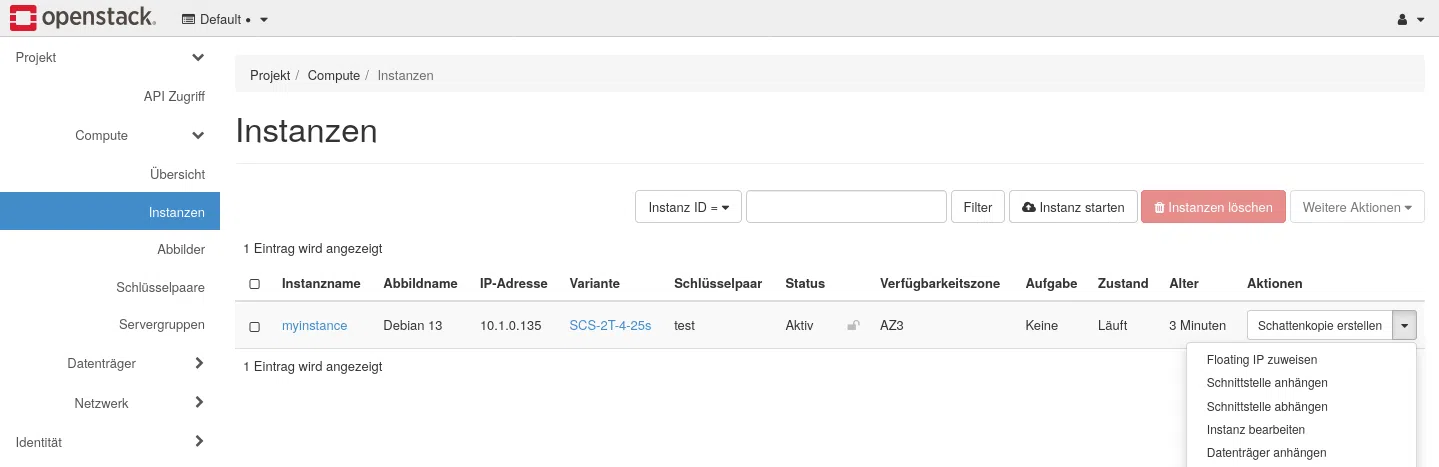
You can view your instances under the menu option Compute > Instances.

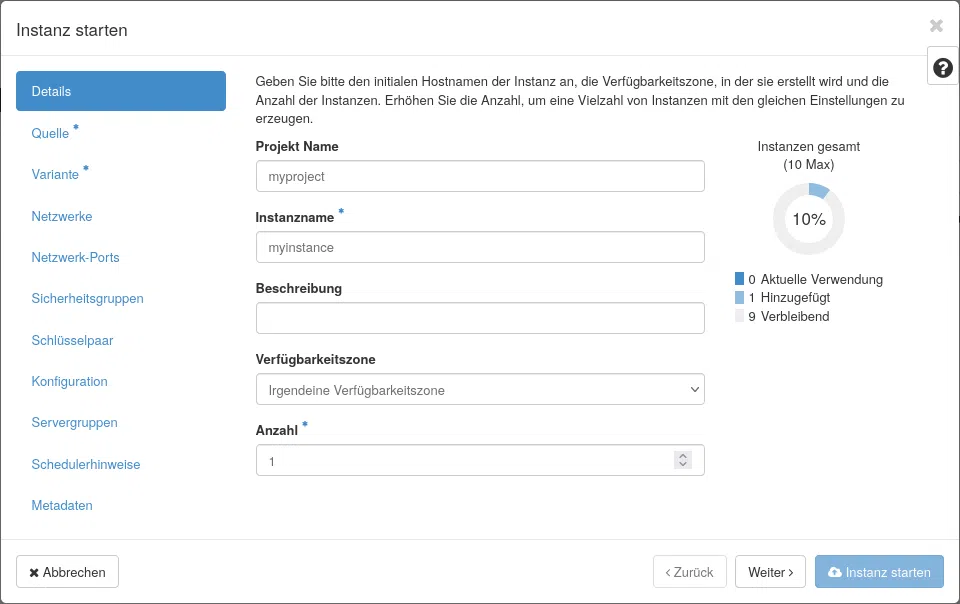
Creates a new instance using the button Start instance. Please specify at least the instance name and the number of instances.

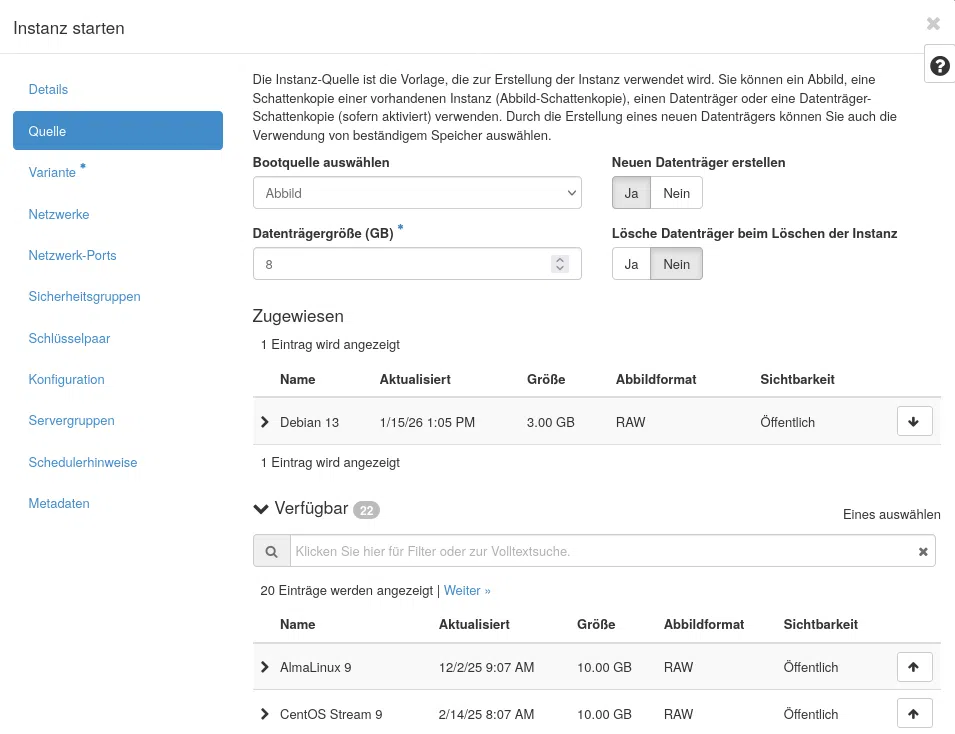
Continue configuring the image to be selected for the instances. Here, you can choose from the Managed Cloud&Heat images or an imported image.

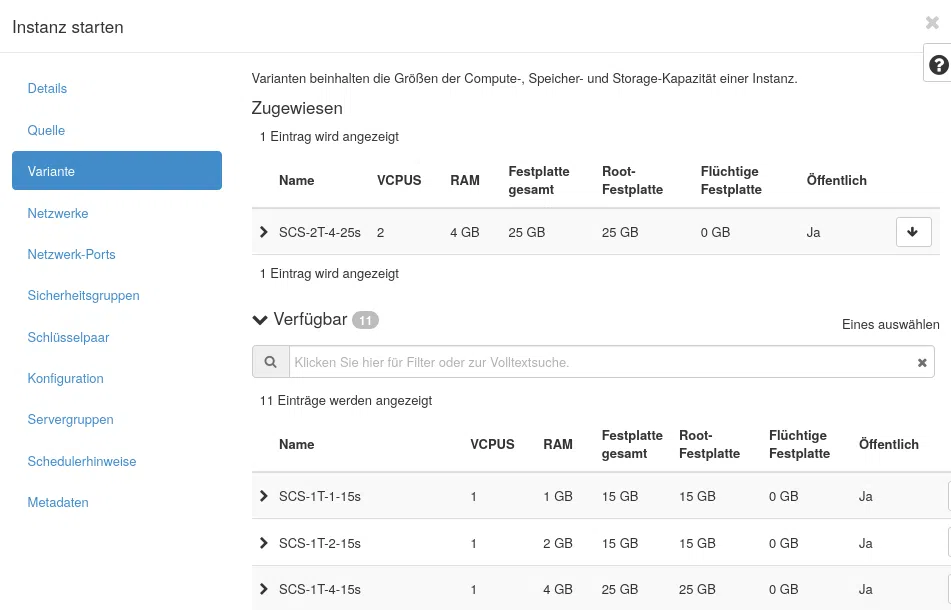
Select a suitable option from the list.

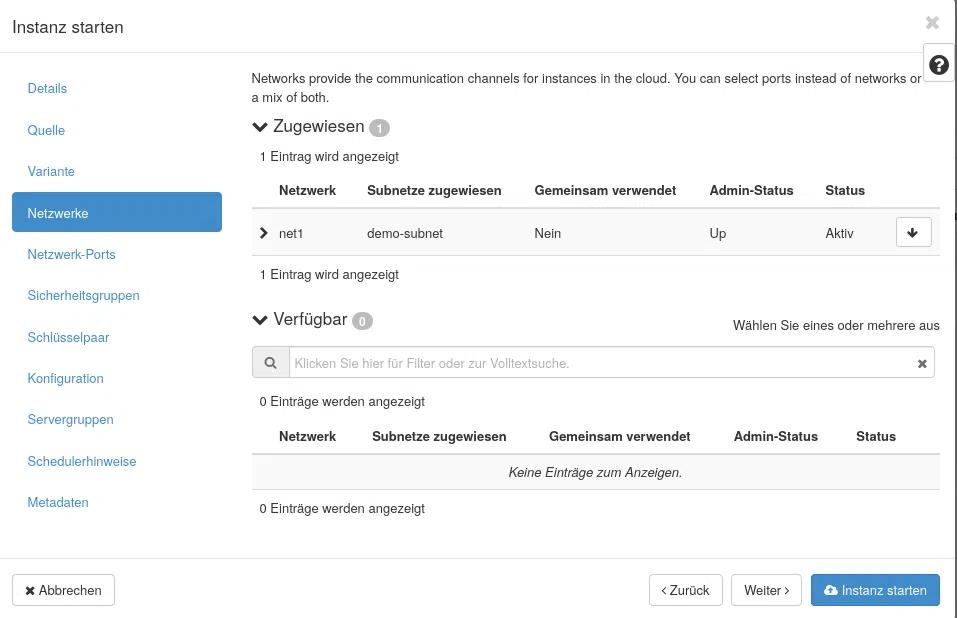
And select a suitable network from the list.

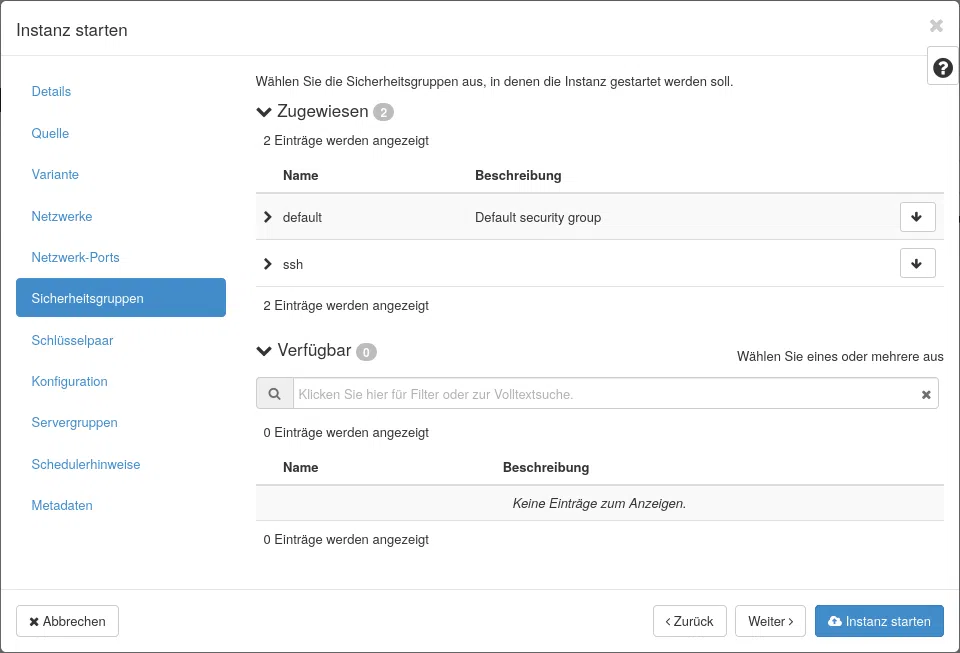
Then assign the necessary security groups.

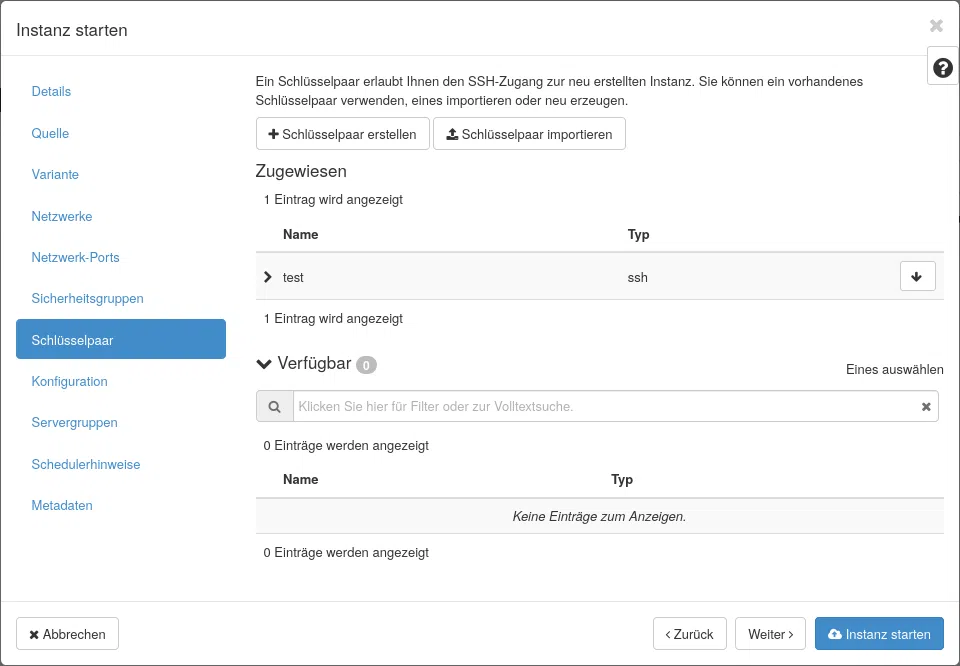
And finally, assign your SSH key so that you can use it directly within the instance to authenticate via SSH.

Alternatively, you can also use the OpenStack CLI:

openstack server create \
    --flavour M \
    --image 'Debian 13' \
    --key-name my-ssh-key-name \
    --network demo-network \
    --security-group default --security-group ssh --security-group ping
    myinstance

Assign a floating IP address

Following the steps outlined above, the instance is located on an internal network that is not yet accessible from outside. To make the instance publicly accessible, you can assign a floating IP. You can do this very easily via the drop-down menu in the instance overview.

Your floating IP should now be assigned to your instance. By following the steps outlined in this blog post, you have created an instance that can be accessed from the internet via SSH and PING.

Connection test

If you have followed all the steps as described, your instance should now be accessible via SSH and respond to pings. Try connecting to the instance via SSH and sending a ping to it:

ping
ssh root@


Depending on which option you have chosen, a standard user can also, for example, debian or ubuntu be.

You can find further tutorials on working with OpenStack cloud environments here.

Matching products

Find the right solution for this issue.

max böttcher Sales Engineer Software Solutions

Max Böttcher

Sales
Benjamin Schreier Head of Sales

Benjamin Schreier

Sales

More blog posts

Blog | Getting started in the cloud: security and access control
In this blog post, you’ll learn how to manage SSH keys and define network rules using security groups. The following sections also cover how to create and manage user roles.
Blog | Getting started in the cloud: Uploading and managing images
In this blog post, you’ll learn how to manage and add custom images in the Cloud&Heat Technologies Horizon dashboard.