Introduction
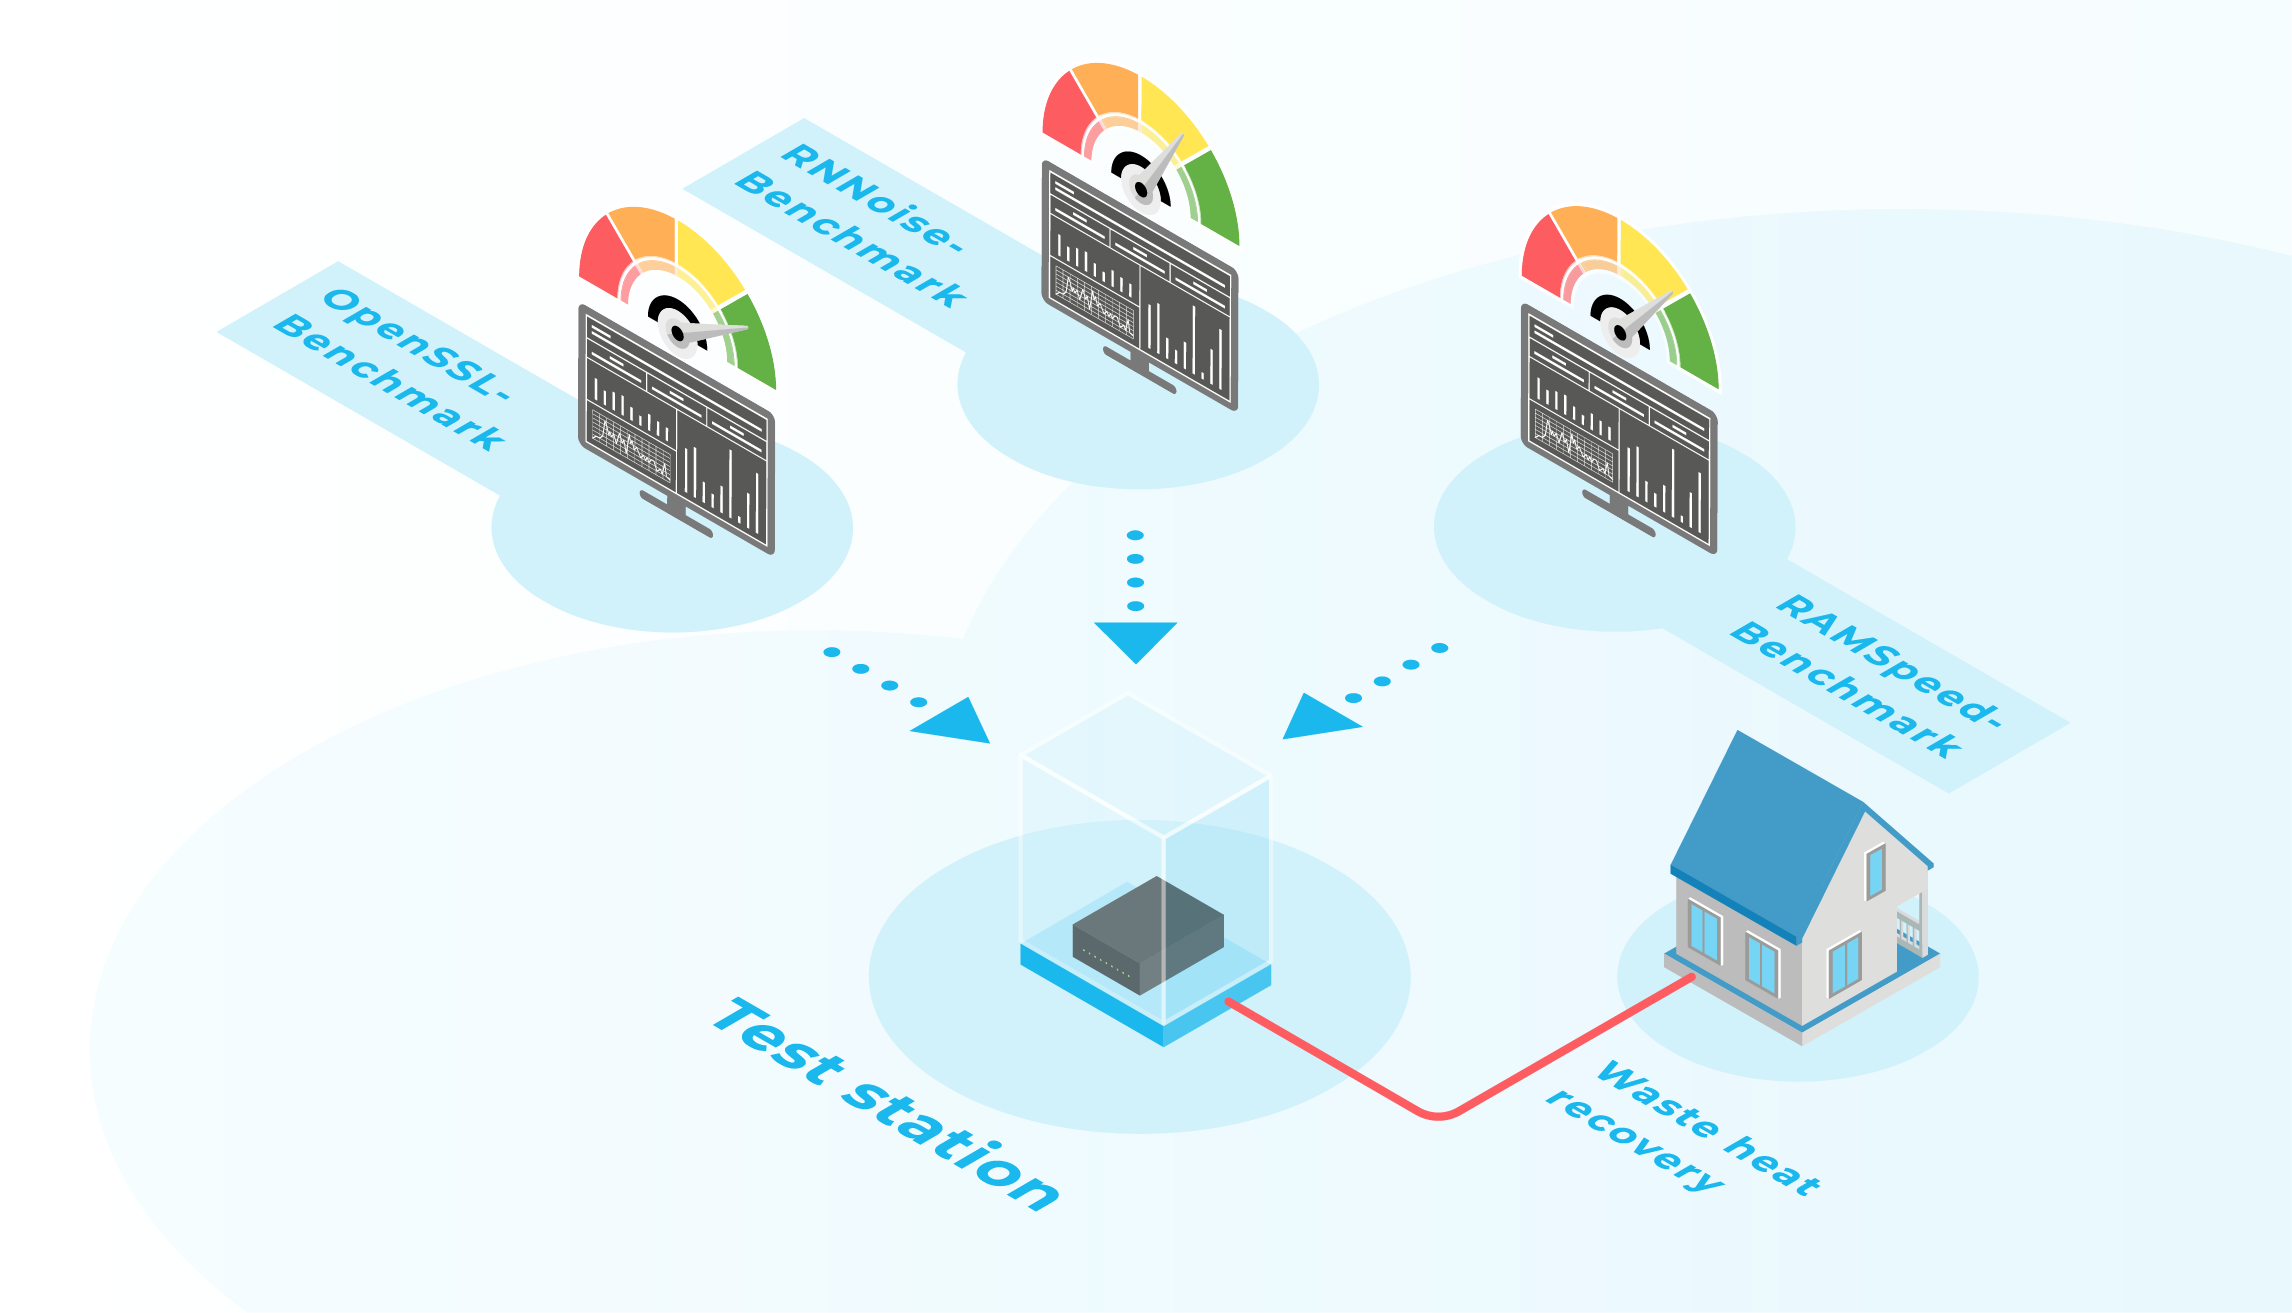
The previous article explained which tools can be used to load a server and which benchmarks can be used. This article explains how these parts can be combined and automated into a unified approach.
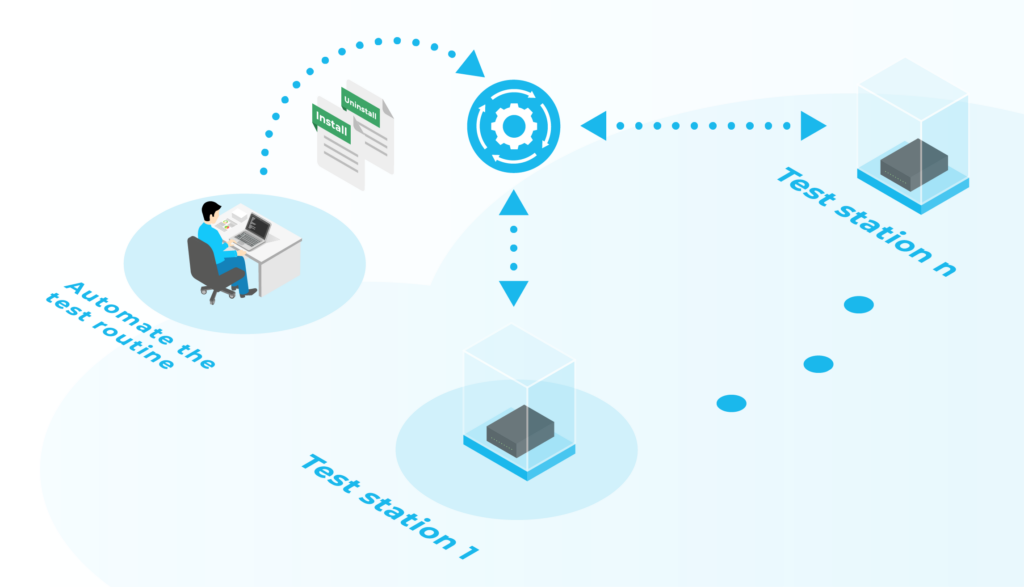
Automate the test routine
A bash script was developed to automate the test process and to utilise the server over a defined period of time, to read out CPU temperatures and to perform benchmarks. The script enables the tests to be carried out efficiently and reliably. The script is listed below:
#!/bin/bash
echo "Please enter the name of the output file:"
read output_file
echo „Please enter the number of repetitions:“
read iteration_count
echo „Datum,openssl/sign,openssl/verify,RNnoise,ramspeed,Temperatur“ >> „$output_file“.csv
for i in $(seq 1 „$iteration_count“)
do
$(./FIRESTARTER -i 21 -t 7200)
#fuege die Temperaturdaten hinzu
date_value=$(date +%Y-%m-%d_%H-%M-%S)
temperatur=$(sensors | grep „Core“ | awk ‚{print $3}‘ | sed ’s/+//‘ | sed ’s/\degreeC//‘ | tr ‚\n‘ ‚,‘)
temperatur=$(echo „$temperatur“ | awk ‚{printf $1 „,“}‘)
temperatur=$(echo „$temperatur“ | sed ’s/,$//g‘)
#fuehre Benchmark aus
result_openssl=$(echo „1“ | phoronix-test-suite batch-benchmark openssl | awk ‚/Average/ {print $2}‘)
result_openssl=$(echo „1“ | phoronix-test-suite batch-benchmark openssl | awk ‚/Average/ {print $2}‘)
result_openssl=$(echo „$result_openssl“ | sed ’s/\x1B[[0-9;]*[JKmsu]//g‘)
result_openssl=$(echo „$result_openssl“ | awk ‚{printf $1 „,“}‘)
result_openssl=$(echo „$result_openssl“ | sed ’s/,$//g‘)
result=$(echo n | phoronix-test-suite benchmark standard-testing | awk ‚/Average/ {print $2}‘)
result=$(echo „$result“ | sed ’s/\x1B[[0-9;]*[JKmsu]//g‘)
result=$(echo „$result“ | awk ‚{printf $1 „,“}‘)
result=$(echo „$result“ | sed ’s/,$//g‘)
echo „${date_value},${result_openssl},${result},${temperatur}“ >> „$output_file“.csv
done
Automate the automation
This bash script already works as a stand-alone. However, it is a bit clunky in use because the benchmarks have to be adjusted manually. In addition, the automation can be further advanced here. To avoid setting up each server individually and manually, it is recommended to automate the entire process via Ansible.
The following structure is recommended:
- config – This directory contains configuration files for the test suite Phoronix as well as a configuration files for the default execution values for its tests.
- scripts – This directory contains additional (python) scripts that are mostly used as helpers for the automatic execution.
- tests – This contains the tests, which serve as the primary means to run different tests on the machine-under-test.
Config
The config.yml contains only a list of benchmarks with the options that are selected. For example:
tests:
- name: ramspeed
expects:
- "Type:"
- "Benchmark:"
inputs:
- 6
- 2
Runs the RAMSPEED benchmark and passes the 6 and 2, which are used for copying floating points and not saving the results.
Scripts
Scripts contains a wrapper for phoronix, which is called in an adapted version of the previously explained bash script and loads and executes the benchmarks with the desired options from the config. The exact content would exceed the scope of this blog article.
Tests
Tests contains the above-mentioned Bash file in a modified version and another speciality called „Errorrate Testing“. This is another proprietary development that continuously checks whether arithmetic operations permanently produce correct results. This is carried out because there were indications that high chip temperatures generate bit flips and thus deliver incorrect results. This is checked and recorded when and how many errors occur in order to identify any increases in the course of the test. The operation in the background is a simple calculation with comparison:
while [ $SECONDS -lt $end ]; do
    a=$((2+3))
    if [ $a -ne 5 ]
    then
        errors=$((errors+1))
        echo $a
    fi
    operations=$((operations+1))
done
Ansible Playbook
Using the ansible Playblook, the process is brought together and fully automated. The playbook installs all the necessary packages, performs the setup, tests the hardware, saves all the results on the local machine that initiated the test and then cleans up the server. The first thing that is needed is an inventory, containing for example:
all:
vars:
packages:
- build-essential
- unzip
- python3
(...)
- tmux
- htop
phoronix:
tests:
- openssl
- rnnoise
- ramspeed
test:
duration: 10
iterations: 1
filename: test
cleanup: true
hosts:
testserver:
ansible_ssh_host: 192.168.100.150
ansible_user: <user>
ansible_ssh_pass: <pw>
ansible_become_pass: <pw>
Then the playbook can be set up. This would also be too extensive, so here are just a few individual parts. Tasks can be passed, for example, Phoronix is downloaded via the following lines:
- name: Download Phoronix
ansible.builtin.get_url:
url: https://phoronix-test-suite.com/releases/repo/pts.debian/files/phoronix-test-suite_10.8.4_all.deb
dest: /home/ubuntu/phoronix-test-suite_10.8.4_all.deb
Commands are then required to install and configure Phoronix-Test-Suite. This is to be done for all necessary packages. Afterwards, the tests must be performed. The following lines can be used to create the server test bash:
- name: Run `servertest.sh`
become: true
become_user: ubuntu
ansible.builtin.shell: |
chmod +x ./servertest/servertest.sh
./servertest/servertest.sh -d {{ test.duration }} -o {{ test.filename }} -i {{ test.iterations }} -f ~/firestarter -t "{{ phoronix.tests }}"
register: test_result
Similarly, tasks can be set up that copy the results to the target computer and then delete everything from the server.
Conclusion
This article shows how to automate a test routine. It starts with a simple Bash script, which only takes over the test procedure itself, and ends with a fully automated one. The Ansible playbook allows the test procedure to be set up and executed on several servers at the same time. The only requirement is an initialised operating system and working SSH access.


