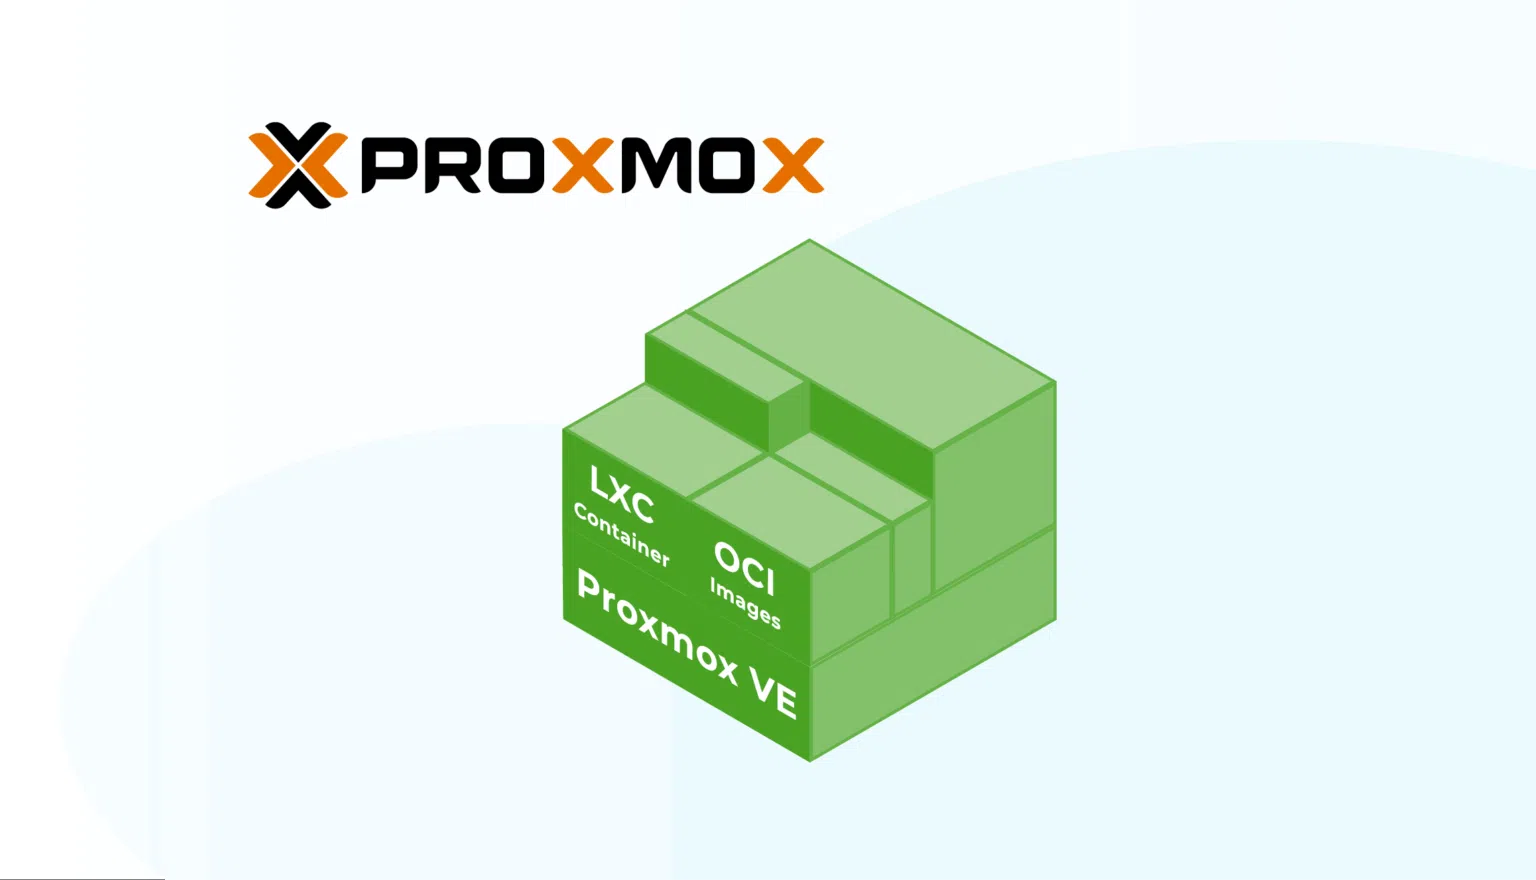
This blog post shows how to use OCI-compliant container images directly as LXC containers in Proxmox Virtual Environment (Proxmox VE). In particular, the porting of containers and the stable operation via Systemd will be discussed.
To understand the differences between OCI containers and LXC containers, it is worth to start by taking a brief look at the underlying virtualisation concepts and their respective strengths.
Why do we use virtualisation?
Virtualisation enables a better distribution of resources and an increased efficiency in the operation of cloud infrastructures. It also contributes to stabilising and accelerating deployment processes, as test environments can be restored to their original state more quickly and easily. In particular, software development (as well as governance) benefits from virtualisation because dependencies of the used software can be better determined and dealt with.
What types of virtualisation are there?
There are different types of virtualisation, each tailored to different scenarios. Operating system virtualisation is often used to ensure that legacy applications that impose very specific requirements on the operating system can continue to run securely. By abstracting from the underlying physical system, such applications can also run on modern hardware. This type of virtualisation also helps to ensure hardware regeneration. Technically, this is typically realised with (kernel-based) virtual machines (KVMs) or, in the case of Linux-based applications, with LXC containers.
With the application virtualisation the focus lies on the isolation of individual applications and their runtime environment. This has the advantage that fewer system resources are required, as only the software components required for the application – in the form of the root file system (rootfs) – are bundled as a package. This bundled unit is then executed as a closed application. Typical representatives of this form of virtualisation are OCI-compliant container images, which can be started with tools such as Docker, Podman or systemd-nspawn, as well as a classic chroot.
Virtualisation approach with Proxmox VE
The Proxmox VE approach relies primarily on operating system virtualisation and uses application virtualisation usually only within the guest systems. In my view, this makes sense: it enables the clear encapsulation of responsibilities – between the system that manages the actual hardware resources and the guest systems that provide runtime environments (especially standalone kernels with dedicated IP stacks). This separation of responsibilities and dependencies not only ensures stability, but also makes it easier to maintain and update the system. It lays the foundation for long-term stable and secure operation. Encapsulation also protects the hypervisor, which also increases the stability of workloads running in parallel. Another advantage is that the transfer load for the operation of the individual workloads in the VMs is lower, as operating system virtualisation relies on familiar concepts from the operation of physical machines.
Advantages of virtualisation and why it is used directly on the hypervisor
An illustrative example for the importance of separating applications and the underlying hardware resource management stems from my time at a previous employer, which had over 300 Linux servers in use. A Jira application running on the servers was dependent on certain Java runtime versions. At that time – before I joined the team – official support was only available for an "enterprise" Linux distribution. As a Red Hat-friendly company, the decision was made in favour of RHEL 5. The situation became complicated when Jira could no longer be updated for licensing reasons. In order to ensure compatibility with the Java runtime supplied, the entire operating system version was "frozen" at RHEL 5 (much to the delight of IT security, as the supply of security patches also expired after 10 years). Neither the application operators nor the responsible Linux/Unix operating team had sufficient resources to maintain this legacy system in the long term. Similar problems often occurred with applications that relied on outdated Python or PHP versions.
This anecdote illustrates how important application virtualisation is. In larger cloud environments, solutions such as Tarook , an open source lifecycle management tool for Kubernetes can be useful. In smaller setups, on the other hand, tools such as Docker or Podman, operated within virtual machines, are alternative solutions. This approach also benefits from the high availability mechanisms of the Proxmox VE solution.
A key advantage of application virtualisation, in particular through the use of OCI images, lies in standardisation. This standardisation and the success of Docker and comparable solutions have created a broad ecosystem that makes it possible to distribute tested applications quickly and easily via container registries.
As a company that already uses Kubernetes with OCI-based images for the provision of its own OpenStack deployments, it makes sense for Cloud&Heat to use solutions that are already provided in this way for the configuration of Proxmox VE deployments. Although the Proxmox VE environments themselves have no direct dependency on OCI images, these are used internally to port existing solutions (e.g. for user management). Conveniently the LXC services supplied by Proxmox VE offer a compatibility layer for this purpose.
Implementation of OCI images as LXC containers in Proxmox VE
Technical requirements
In order to obtain OCI images from registries, the skopeo and umoci packages must be installed under Proxmox VE:
apt install skopeo umoci
After installation, the system contains some typical configuration files that are already known in a similar form from Docker or Podman installations. An example of this is the file /var/lib/containers/cache/blob-info-cache-v1.boltdb. This file is used to track the OCI layers.
Furthermore, configurations for so-called "Well-Known“ images and registries can be found under:
root@pve:~# tree /etc/containers/
/etc/containers/
├── policy.json
├── registries.conf
└── registries.conf.d
└── shortnames.conf
Finally, it is also possible to store credentials for protected registries at:
root@pve:~# cat ~/.docker/config.json
{"auths":
{ "":
{ "auth": "" } }
}
Configuration of the containers
Once the container sources have been configured, it is now possible to create corresponding containers using the LXC cli tools. The LXC containers that are created via the Proxmox VE WebUI or the pct cli tool are also created as LXC containers under /var/lib/lxc/ . They are configured by Proxmox VE's own administration tools so that the LXC services can start and manage them.
This procedure is also necessary for the configuration of LXC containers from OCI images if you do not use the convenience of the PVE tools. Containers that are created using the PVE tools are created under /var/lib/lxc/ created. This should be taken into account when creating further manual LXC containers.
Another important point: The PVE tools ignore the default values that are adopted for newly created LXC containers from the file /etc/lxc/default.conf. This means that global adjustments for default values can be set here without colliding with the Proxmox containers.
If we now create a new LXC container with the option -template=oci create, e.g:
root@pve:~# lxc-create --name bash --template=oci -- --url docker://bash:devel-alpine3.22
Copying blob ed9f46a56c4c skipped: already exists
Copying blob 9824c27679d3 skipped: already exists
Copying blob 1926526997ec skipped: already exists
Copying blob 429cd906597a skipped: already exists
Copying config 376e768ec4 done
Writing manifest to image destination
Storing signatures
mfpath=/var/lib/lxc/bash/oci/blobs/sha256/8c4dd3f704a443e34a1aa9952b304de5148c54388ff6aed80d0a2b06db1da65d conf=/var/lib/lxc/bash/oci/blobs/sha256/376e768ec4e15b92ee8ddb2ea388c2418902684b24eb8ef58421ba85478ab296
mediatype=application/vnd.oci.image.layer.v1.tar+gzip
Unpacking tar rootfs
the corresponding container configuration is generated under /var/lib/lxc/ :
root@pve:~# ls /var/lib/lxc/bash
config oci rootfs
When creating this configuration, you should not be confused by the URL: "docker://“ specifies the protocol used to reach the registry. Any URL can then be used that can be resolved according to the configuration under /etc/containers/registries.conf* . For this purpose, skopeo is used, which also provides further information on the manpages.
Once a container has been successfully created, the following structure can be found unter the path /var/lib/lxc/ :
- The oci folder, which contains the blobs and the associated information
- The rootfs folder, which contains the folder structure for our LXC containers composed of the blobs
- The config file, which provides information for LXC on how the corresponding container is to be configured. Immediately after creation via lxc-create, a combination of the values in /etc/lxc/default.conf and the information that can be derived from the image. In most cases, however, this is not directly executable:
root@pve:~# cat /var/lib/lxc/bash/config
# Template used to create this container: /usr/share/lxc/templates/lxc-oci
# Parameters passed to the template: --url docker://bash:devel-alpine3.22
# For additional config options, please look at lxc.container.conf(5)

# Uncomment the following line to support nesting containers:
#lxc.include = /usr/share/lxc/config/nesting.conf
# (Be aware this has security implications)

## generated by Ansible ch-docker-2-lcx - do not change manually
lxc.net.0.type = veth
lxc.net.0.link = lxcbr0
lxc.net.0.flags = up
lxc.net.0.hwaddr = 00:16:3e:f3:c8:35
lxc.rootfs.path = dir:/var/lib/lxc/bash/rootfs
lxc.execute.cmd = '"docker-entrypoint.sh" "bash" '
lxc.mount.auto = proc:mixed sys:mixed cgroup:mixed
lxc.environment = PATH=/usr/local/sbin:/usr/local/bin:/usr/sbin:/usr/bin:/sbin:/bin
lxc.environment = _BASH_COMMIT=cf8a2518c8b94f75b330d398f5daa0ee21417e1b
lxc.environment = _BASH_VERSION=devel-20250918
lxc.include = /usr/share/lxc/config/common.conf
lxc.include = /usr/share/lxc/config/oci.common.conf
lxc.uts.name = bash
lxc.init.uid = 0
lxc.init.gid = 0
lxc.init.cwd = /
For comparison, here is the file used under /etc/lxc/default.conf on the test system:
root@pve:~# cat /etc/lxc/default.conf
## generated by Ansible ch-docker-2-lcx - do not change manually
lxc.net.0.type = veth
lxc.net.0.link = lxcbr0
lxc.net.0.flags = up
lxc.net.0.hwaddr = 00:16:3e:xx:xx:xx
To obtain an executable container, the config file must be adapted. Any incompatible configuration can lead to an inoperable container. Due to the default configuration values, this usually includes at least the network interface lxc.net.0. For a complete and correct configuration, it is worth taking a look at the official documentation:
- https://linuxcontainers.org/lxc/manpages//man5/lxc.container.conf.5.html
man lxc.container.conf.
There you will find a comprehensive overview of all available configuration options. You will also find valid keys for configuring environment variables, which are often required for executable containers in the OCI context, or for paths passed through as persistent volumes.
When searching for possible causes of errors, it is advisable to start the containers in the foreground with the corresponding log options in order to be able to analyse them. For example:
root@pve:~# lxc-start bash --foreground --logpriority=DEBUG --logfile=~/test.log
can't run '/sbin/openrc': No such file or directory
can't run '/sbin/openrc': No such file or directory
can't run '/sbin/openrc': No such file or directory
can't open /dev/tty5: No such file or directory
can't open /dev/tty6: No such file or directory
can't open /dev/tty5: No such file or directory
This indicates that in our example the file /sbin/openrc was not found within the container. A brief check of the container in rootfs shows that this executable is also not present:
root@pve:~# ls /var/lib/lxc/bash/rootfs/sbin/openrc
ls: cannot access '/var/lib/lxc/bash/rootfs/sbin/openrc': No such file or directory
For compatibility with future versions of the OCI image, it would be helpful to replace the original initial start command with a suitable command:
## Configuration after creation
lxc.execute.cmd = '"docker-entrypoint.sh" "bash" '

## Startable configuration
lxc.init.cmd = /bin/sh
Here is an executable minimum configuration after the adjustments for our example:
root@pve:~# cat /var/lib/lxc/bash/config
## generated by Ansible ch-docker-2-lcx - do not change manually
# Template used to create this container: /usr/share/lxc/templates/lxc-oci
# Parameters passed to the template: --url docker://bash:devel-alpine3.22
# For additional config options, please look at lxc.container.conf(5)
# Uncomment the following line to support nesting containers:

lxc.net.0.type = none
lxc.rootfs.path = dir:/var/lib/lxc/bash-example/rootfs
lxc.environment = USER=root
lxc.include = /usr/share/lxc/config/common.conf
lxc.include = /usr/share/lxc/config/oci.common.conf
lxc.init.cmd = /bin/sh
lxc.uts.name = bash-example
lxc.environment = USER=root
lxc.init.uid = 0
lxc.init.gid = 0
lxc.init.cwd = /
With the customised configuration, the container is executable and can be managed via the LXC tools:
# Starting the container
root@px121:~# lxc-start --name=bash

# Retrieve the runtime information
root@px121:~# lxc-info --name=bash
Name: bash
State:          RUNNING
PID: 33520
IP: 10.10.10.121
IP: 10.10.11.121
IP: 10.10.12.121

# Executing commands within the container
root@px121:~# lxc-attach --name=bash
~ # echo "Hello World"
Hello World
~ # exit

# The container does not stop automatically after exiting
root@px121:~# lxc-info --name=bash
Name: bash
State:          RUNNING
PID: 33520
IP: 10.10.10.121
IP: 10.10.11.121
IP: 10.10.12.121

# Stop the container process (--kill for a hard termination)
root@px121:~# lxc-stop --name=bash

root@px121:~# lxc-info --name=bash
Name: bash
State:          STOPPED

# Direct start and execution of a specific command.

root@px121:~# lxc-execute --name=bash -- echo "hello world"
hello world
root@px121:~# lxc-info --name=bash
Name: bash
State:          STOPPED
By directly starting and executing a single command, OCI images can be ported to execute fully packaged programmes directly on the host using aliases like native commands:
root@px121:~# alias hello-from-oci="lxc-execute --name=bash -- echo 'hello from oci'"
root@px121:~# hello-from-oci
hello from oci
Another option is to run the adapted LXC containers as daemons. You can use either lxc-autostart or Systemd for this:
- lxc-autostart: By simply entering the line lxc.start.auto = 1 in the config file of the respective container ensures that the container is also started after the boot. Additional options, such as for delayed starts and dependencies, can be found under https://linuxcontainers.org/lxc/manpages//man5/lxc.container.conf.5.html#lbBK . It is important to note that lxc-autostart does not restart containers if they have been stopped by an error or manual intervention, for example. This behaviour may be explicitly desired in some cases, e.g. for system services. We will therefore show in the next section how the LXC containers can be managed with Systemd.
- Systemd: Systemd offers the option of working with template files. These are marked by the use of the '@‘ character in front of the actual Systemd unit file extension. This can be used by creating a single template for our services in /etc/systemd/system :
root@px121:~# cat /etc/systemd/system/lxc-oci@.service
[Unit]
Description=%i run from OCI as LXContainer via systemd
Documentation="https://gitlab.com/cloudandheat"
ConditionPathExists=/var/lib/lxc/%i
Wants=lxc.service
After=lxc.service

[Service]
Environment="START_ARGS=--name=%i --pidfile=/var/lib/lxc/%i/pid"
Environment="STOP_ARGS=--name=%i"
ExecStart=/usr/bin/lxc-start $START_ARGS
ExecStop=/usr/bin/lxc-stop $STOP_ARGS
Restart=always
PIDFile=/var/lib/lxc/%i/pid
Type=simple

[Install]
WantedBy=multi-user.target
There are some specific variables in the Systemd files, e.g. %i is replaced by the escaped variant of the service unit after the '@‘. This makes it easy to generate Systemd services:
root@px121:~# systemctl start lxc-oci@bash.service
root@px121:~# systemctl status lxc-oci@bash.service
● lxc-oci@bash.service - bash run from OCI as LXContainer via systemd
       Loaded: loaded (/etc/systemd/system/lxc-oci@.service; disabled; preset: enabled)
       Active: active (running) since Wed 2025-10-01 13:24:55 CEST; 5s ago
       Docs: https://gitlab.com/cloudandheat
       Main PID: 3960 (lxc-start)
       Tasks: 0 (limit: 3472)
       Memory: 484.0K
       CPU: 317ms
       CGroup: /system.slice/system-lxc\x2doci.slice/lxc-oci@bash.service
               ‣ 3960 "[lxc monitor] /var/lib/lxc bash"
By using the PID file directive in the Systemd service template and in the ExecStart command, the Systemd service now has the option of recognising whether the process has been stopped without Systemd as the central management service being informed of this.
Deployments via Ansible
As we do not configure our workloads manually, we have of course created an Ansible role for the process described above. As a company that is convinced of the advantages of open source, we provide this as a Git repository on the following link (https://gitlab.com/cloudandheat/docker-2-lxc).
Conclusion
The use of OCI images as LXC containers opens up a further opportunity to combine application virtualisation with Proxmox VE. By reusing standardised container workflows, existing images can be integrated efficiently. Although the manual configuration requires some technical understanding, it also offers the advantages of control and customisability.
")

